 Search
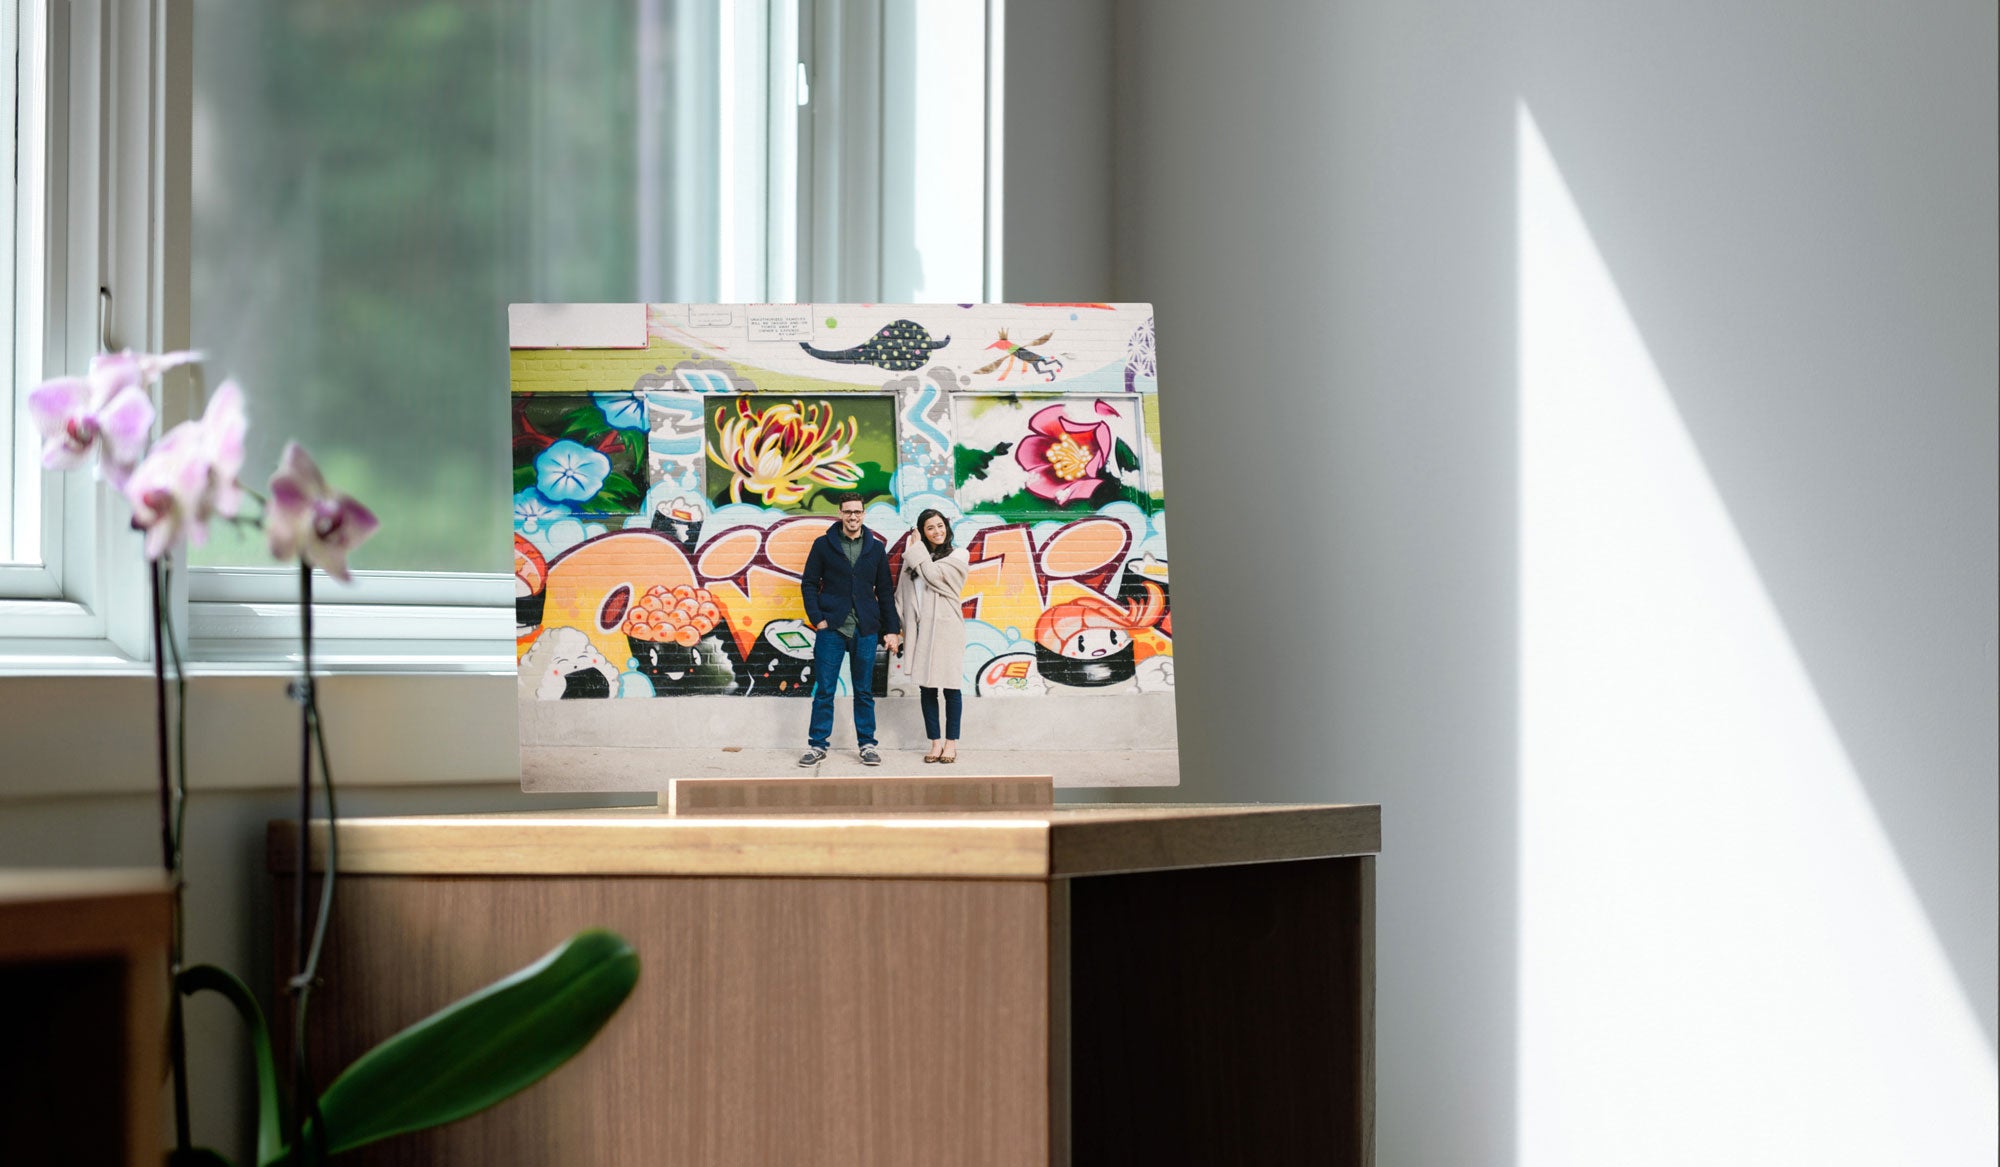
GET THE MOST OUT OF YOUR MASTERPIX PRINTS.
With MASTERPIX, you can create stunning, durable prints to display in your home, office, or wherever you choose. Explore our tutorial videos for ideas on how to get the most from your MASTERPIX prints.
Tutorial Videos
Converting a color photograph to black & white
Turn your color photo into a sleek, timeless black & white MASTERPIX print. Video brought to you by photographer Salem Krieger. Runtime: 6:33
Sizing your file to make a print
Watch this tutorial video to learn how to size your image to standard MASTERPIX dimensions. Video brought to you by photographer Salem Krieger. Runtime: 1:55
Simple Color Correction (short version)
This quick tutorial shows a simple color calibration technique you can use to make the color of your MASTERPIX print more closely match the image your see on your monitor. Runtime: 2:01
Adding a border to your print
Learn how to add a white or color border to your print for a simple, creative way to enhance your photos. Video brought to you by photographer Salem Krieger. Runtime: 6:08
Color Correction (full version)
Watch this more in-depth tutorial video to learn how to make the color of your MASTERPIX print look very close to the image you see on your monitor. Video brought to you by photographer Salem Krieger. Runtime: 4:56